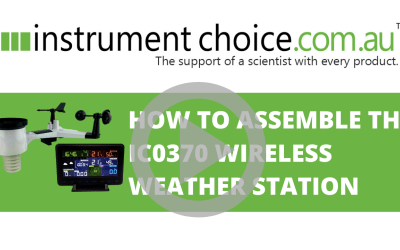
How to Assemble the IC0370 Wireless Weather Station

The IC0370 wireless weather station is a feature-rich and highly functional instrument that’s guaranteed to impress weather enthusiasts with its professional standard reliability and accuracy. It boasts an impressive range of features and is incredibly easy to set up and get started.
Figure 1 Click here to watch an Instrument Choice Scientist assemble the IC0370 Wireless Weather Station
How to assemble the IC0370 Wireless Weather Station
To set up the IC0370 Wireless Weather Station, you require the following supplied parts:
- Mounting hardware kit (backing plate, 2x U-bots, four nuts, and a wrench)
- Wind cups
- Wind vane
- Rain funnel
- 2x AA batteries; and
- A small screwdriver (not included)
Mounting Hardware
The mounting hardware consists of a metal plate, two ‘U’ bolts, and four nuts. We recommended you first install the mounting hardware. Following this sequence will help you avoid damage to the wind cups and wind vane.
1. (2:49) Place the metal plate so that the straight edge is facing the radiation shield, and the grooved side is facing the mounting area.
2. (2:55) Insert both the U-bolts into their respective holes on the metal plate.
3. (3:02) Place and loosely screw the four nuts onto the end of each U-bolt. You will need to tighten these later during the final mounting. Place the wrench aside. You will need this to tighten the nuts when you mount the assembled station.
Wind Vane
4. (3:34) Install the wind vane on the mount with the wind direction compass below. The shaft is flat on one side. This side will line up with the hole in the wind vane. Align and push the wind vane onto the shaft until it can’t move any further.
5. (3:48) Tighten the screw on the vane using a small screwdriver.
6. (3:54) Check the installation - the vane should move relatively freely, and you shouldn’t be able to remove it.
Wind Cups
7. (4:05) Line the wind cups up and push onto the shaft until it can’t move any further, then tighten the small screw on the cups using your screwdriver.
8. (4:17) Check the installation - the cups should move freely, and you shouldn’t be able to remove them.
Rain Funnel
9. (4:26) The rain funnel has three grooves which match up with three grooves on the outdoor sensor suite.
10. (4:36) Slot the funnel into place and twist to lock. The rain funnel should now be immovable.
Outdoor Sensor Power Supply
11. (4:49) Locate the battery compartment on the base of the unit. Flip over the station, while trying to avoid resting or applying pressure to the station while it is upside down to prevent damaging the wind cups and wind vane.
12. (4:55) Pull the cover of the battery compartment open and install the batteries, observing polarity. Then reinstall the battery cover.
13. (5:01) The LED indicator should now turn on for four seconds, then flash once every 16 seconds.
14. Remove the sticker covering the solar panel.
Indoor Console Power Supply
15. Install the backup batteries in the battery cavity on the rear of the internal console and plug the console into mains power.
16. Once on, leave the indoor console and outdoor sensor suite near one and other for about 15 minutes to lock in the sensor signals.
17. Once 15 minutes have passed spin the wind cups to simulate wind speed, the indoor console should display a reading. Once the indoor console and outdoor sensor suite are communicating, mount the outdoor sensor suite in the location of your choice, and your set-up is complete.
CONCLUSION
The IC0370 weather station is a highly functional device that’s brimming with useful features. Within mere minutes you can have your station assembled and collecting accurate, sophisticated weather data from your backyard.
INSTRUMENT CHOICE: HOW TO GUIDE
Additional Links
- View the IC0370 Wireless Weather station features and specifications here.
- Repeat the unboxing and assembly of the IC0370 weather station video.
- See ‘how to set up and select measurement parameters on the IC0370’s indoor console’.
Also interesting
The OHaus Defender 2000 series of scales strikes the perfect balance between accuracy and affordability for commercial and industrial weighing applications.
Follow the 16-steps in this video article to discover how simple it is to assemble any product in the OHaus Defender 2000 Series.

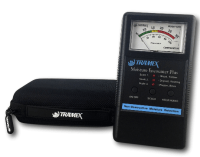
The Moisture Encounter Plus Meter (IC-MEP) is used to determine areas of high moisture or potential moisture ingress making it an excellent tool for building inspectors, pest control technicians, plumbers and flooring installers. For accurate measurements on the IC-MEP, it is vital to understand the method of measurement the meter employs and how best to interpret the results.

