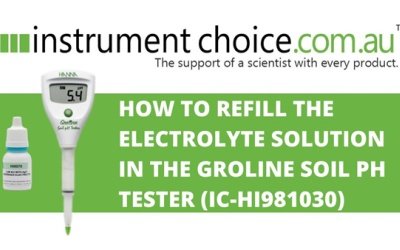
How to Refill the Electrolyte Solution in the Groline Soil PH Tester (IC-HI981030)

A standard ceramic reference junction in a soil pH tester's electrode can quickly become clogged when measuring samples with high suspended solids concentrations. The IC-HI981030 Groline Soil pH Tester features an open reference junction with a removable sleeve design to counteract this potential problem.
While the Groline Soil pH Tester's unique open gel interface between the sample and internal reference minimises the risk of junction blockage, if any soil enters the junction, it can easily be cleaned and refreshed using more bridge electrolyte solution.
This quick video guide details replacing and filling the electrolyte solution in a Groline Soil pH Tester.
Figure 1 Watch here to see an Instrument Choice Scientist demonstrate how to refill the Groline Soil PH Tester (IC-HI981030) with an electrolyte solution.
How to Refill the Electrolyte Solution in the Groline Soil PH Tester (IC-HI981030)
Materials Required
- The GroLine Soil pH Tester - IC-HI981030
- Electrode cleaning solution(included with IC-HI981030)
- Electrode storage solution (included with IC-HI981030)
- Gelled Bridge Electrolyte (included with IC-HI981030); and
- Purified water. We used Deionized Water.
How to Refill the Electrolyte Solution in the Groline Soil PH Tester
- Remove the electrode storage cap.
- Remove the sleeve. Carefully rotate the sleeve to loosen the seal, then pull it straight along the electrode to remove it altogether. Use extreme care as the pH stem is glass.
- Rinse off any traces of the old electrolyte gel in the water.
- Soak the sensor tip in the cleaning solution for 20 minutes.
- After 20 minutes has elapsed, rinse with purified water.
- Refill the reference well with the gelled bridge electrolyte (Figure 1 below).

Figure 1 Reference well on the IC-HI981030 Groline Soil pH Tester
- When filled, replace the reference sleeve. Insert and push the sleeve onto the electrode. Make sure the black o-ring is secure inside the electrode body. Any excess gel will be expelled from the end of the electrode.
- Rinse any excess gel off with purified water and gently shake dry.
- Carefully shake the electrode down as you would with a clinical thermometer to eliminate any air bubbles inside the glass bulb.
- Soak the reassembled probe in electrode storage solution for a minimum of 30 minutes.
- Electrolyte replacement is complete! Rinse and calibrate before use.
Conclusion
Replacing the electrolyte solution in the IC-HI981030 is necessary whenever the solution becomes dirty, and it's a great way to troubleshoot any unusual measurements.
Need a hand with your IC-HI981030 Groline Soil pH Tester? See the links below or contact us!
Additional links
- View the IC-HI981030 Groline Soil pH Tester
- Watch "How to Refill the Electrolyte Solution in the Groline Soil PH Tester (IC-HI981030)" again
- After changing the electrolyte solution in your IC-HI981030, you need to perform calibration. Learn how to perform a two-point calibration in the video "How to Calibrate the IC-HI981030 GroLine Soil pH Tester".
- Learn How to Measure Soil pH using the IC-HI981030 Groline Soil pH Tester here.
- Want to see what comes in the box? Watch a scientist Unboxing the IC-HI981030 GroLine Soil pH Tester
Also interesting
The Instrument Choice team of scientists regularly reviews new and popular products, so you can make more informed decisions when searching for the perfect scientific instrument for your application.
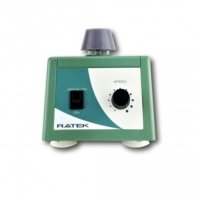
This edition reviews the VM1 Personal Vortex Mixer by Ratek, a highly durable and straightforward single tube vortex mixer that offers unbeatable reliability.
Get our scientists’ review of the VM1 Ratek Personal Vortex Mixer

Aquatel's series of tank indicator units provide a straightforward and entirely wireless solution for monitoring tank and cistern water levels. Our scientists are often asked about how to access the battery compartment on the T110 Tank Sender Unit, so they decided to create this short guide that explains how to do it as seamlessly as possible.
Learn the knack of opening the battery compartment on the T110 Tank Level Indicator

